Made on the Cecotec Mambo Robot
Easter was never my favorite time of year. I don’t have many childhood memories associated with this celebration… but everything changed when my daughter was born. Now, the magic is in our egg hunt, among some chocolate ones and many “fake” ones (our health and wallet are grateful!). What really matters is the sparkle in her eyes — and that is worth more than any old tradition.
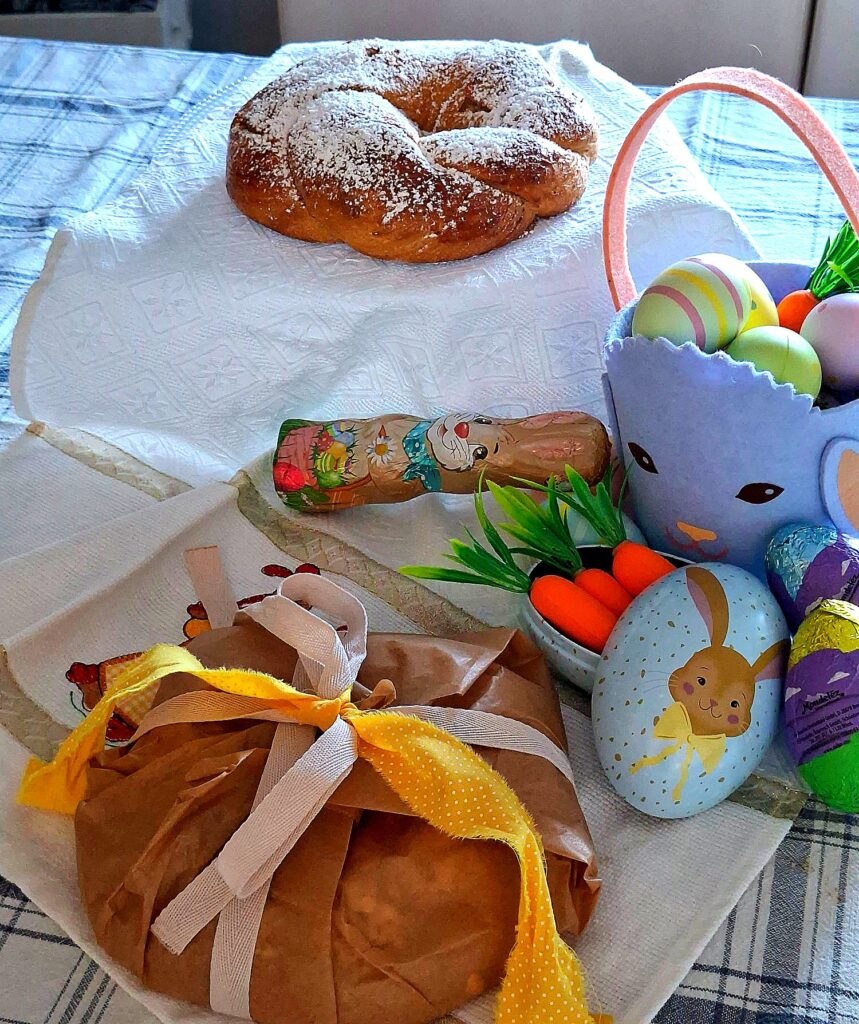
This year, I decided to bring the spirit of Easter into the kitchen and fill the house with the scent of a Folar de Erva-Doce. And since the lazy mode is also part of the holidays, I called my ever-reliable ally: the Cecotec Mambo Robot (See on Amazon — affiliate link). I love how it simplifies the kneading process — it saves time, effort, and makes everything easier. It’s proof that we can create delicious traditions without complicating life.


I drew inspiration from the brand’s original recipe, but I gave it my personal touch, adjusting the ingredients to our taste. The result? A fluffy, aromatic braid made almost effortlessly.
Ingredients
Equipment
Method
- We placed the MamboMix paddle in its position.
- We start by preparing the pre-ferment: we put in the container the yeast diluted in warm water and the flour, mix at speed 2 for 2 minutes, and let it rest for 1 hour.
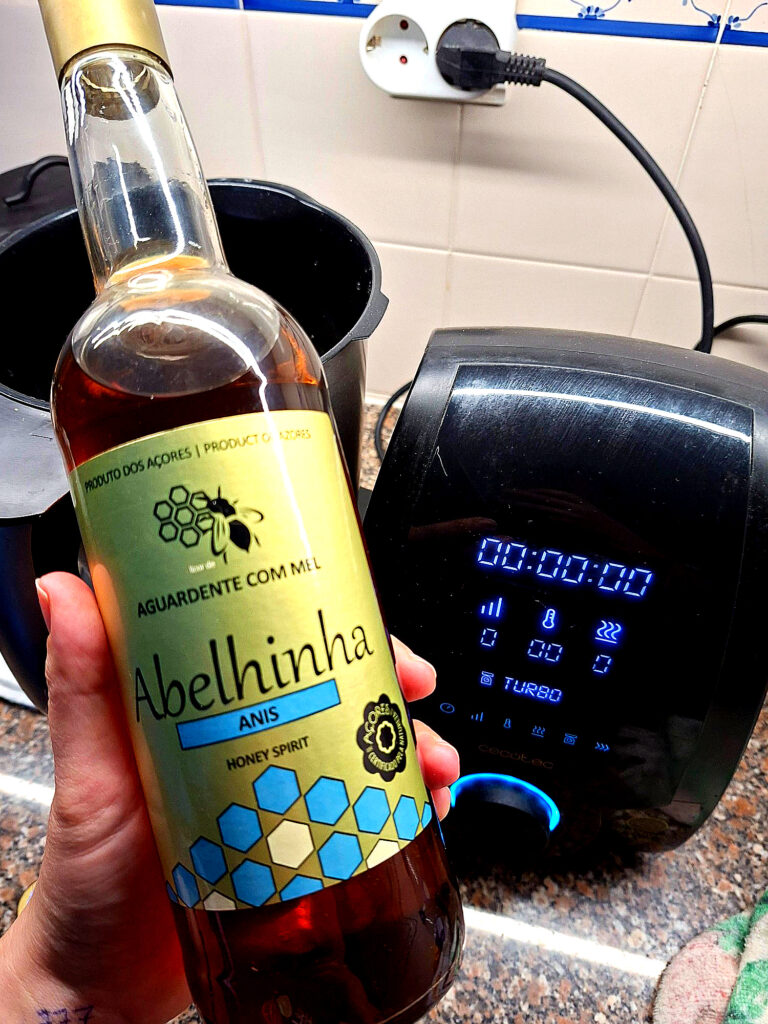
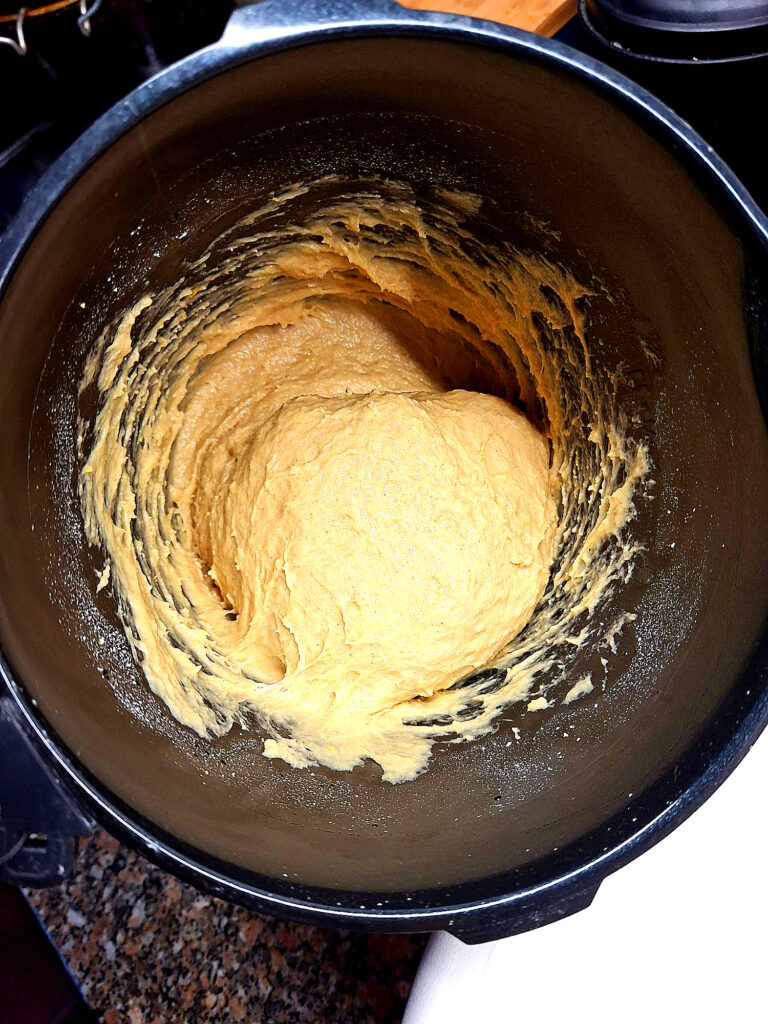
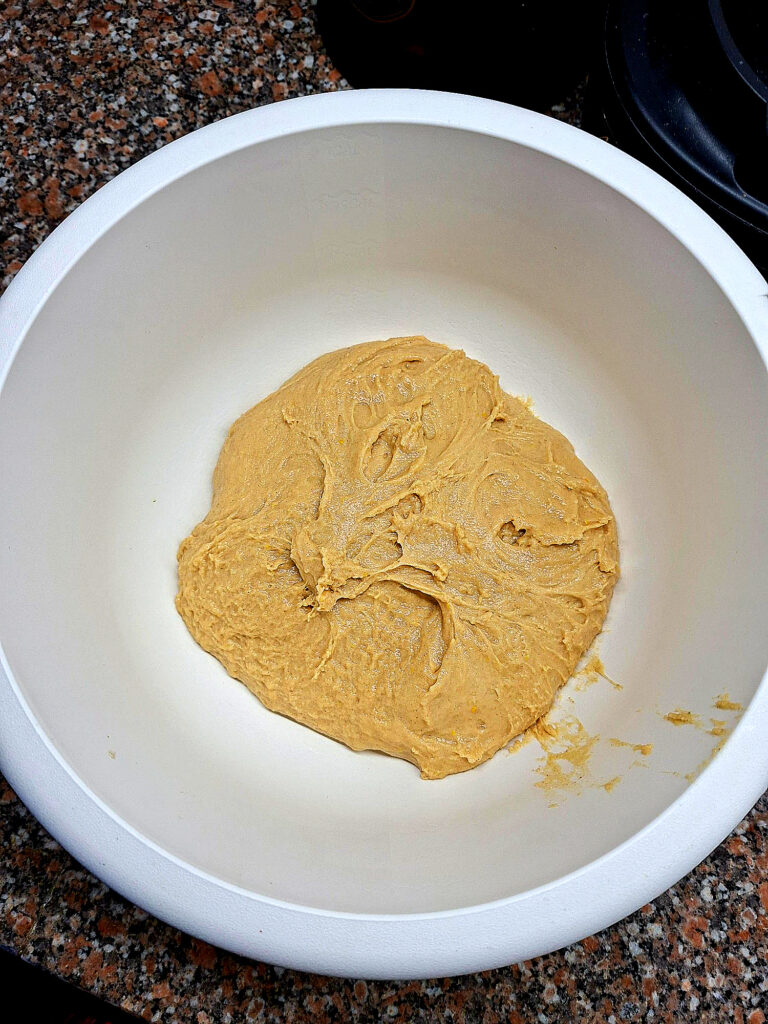
- After an hour, we add 3 eggs, the yeast diluted in milk, the chosen liqueur (I ended up using a honey brandy, which someone very kindly brought me from the Azores), the sugar, the olive oil, and the flour, kneading at speed 3 for 5 minutes. The dough becomes elastic and a little sticky.
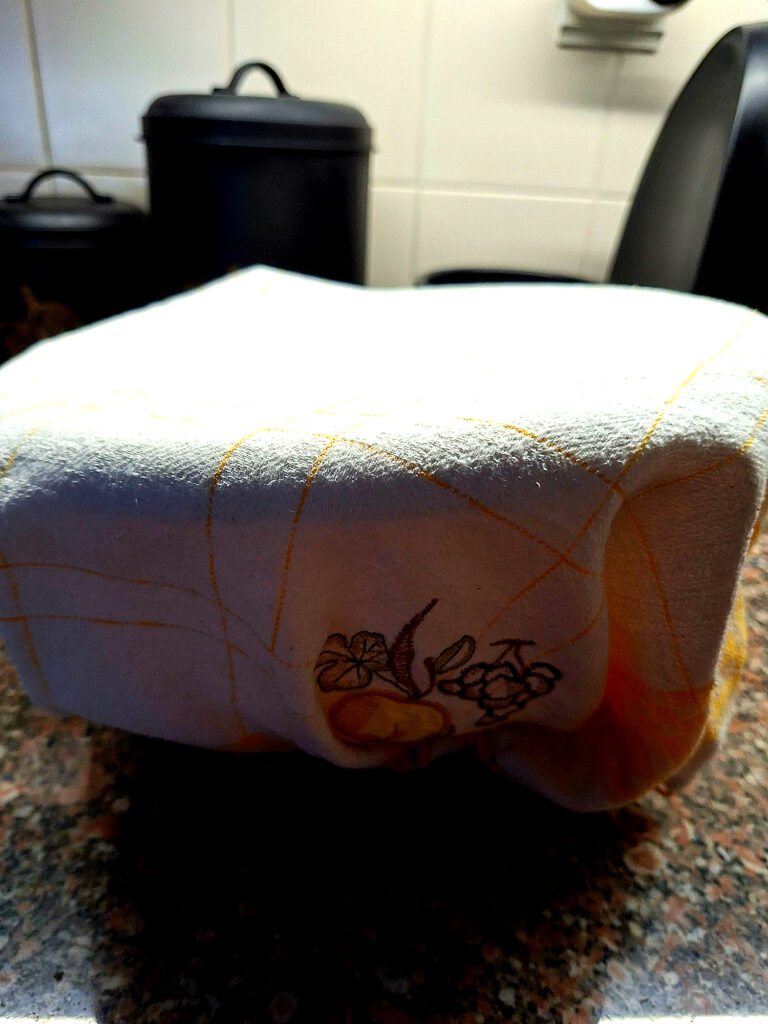
- We form a ball with the dough and let it rest until it doubles in volume (here I have a trick, I put it to rise in the oven (not heated) turned off, with a bowl of very hot water underneath, the steam from this water will help the dough to grow).
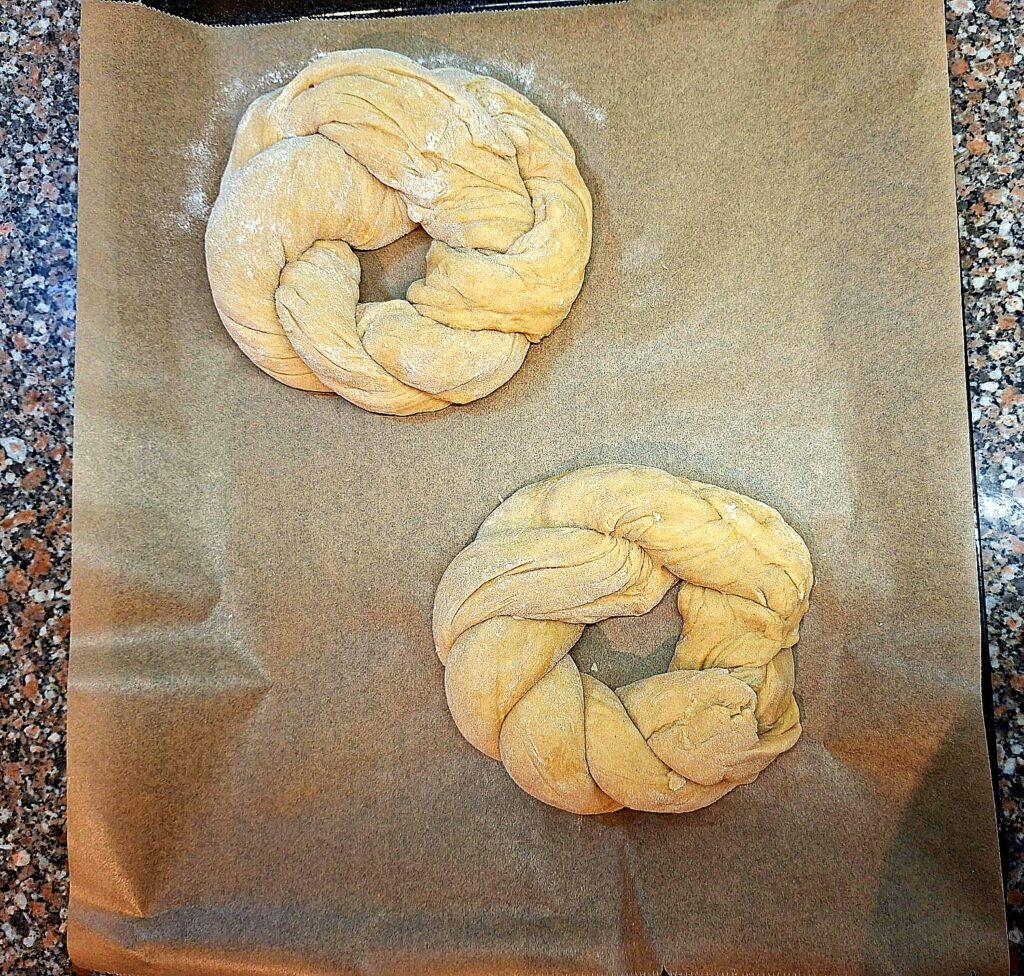
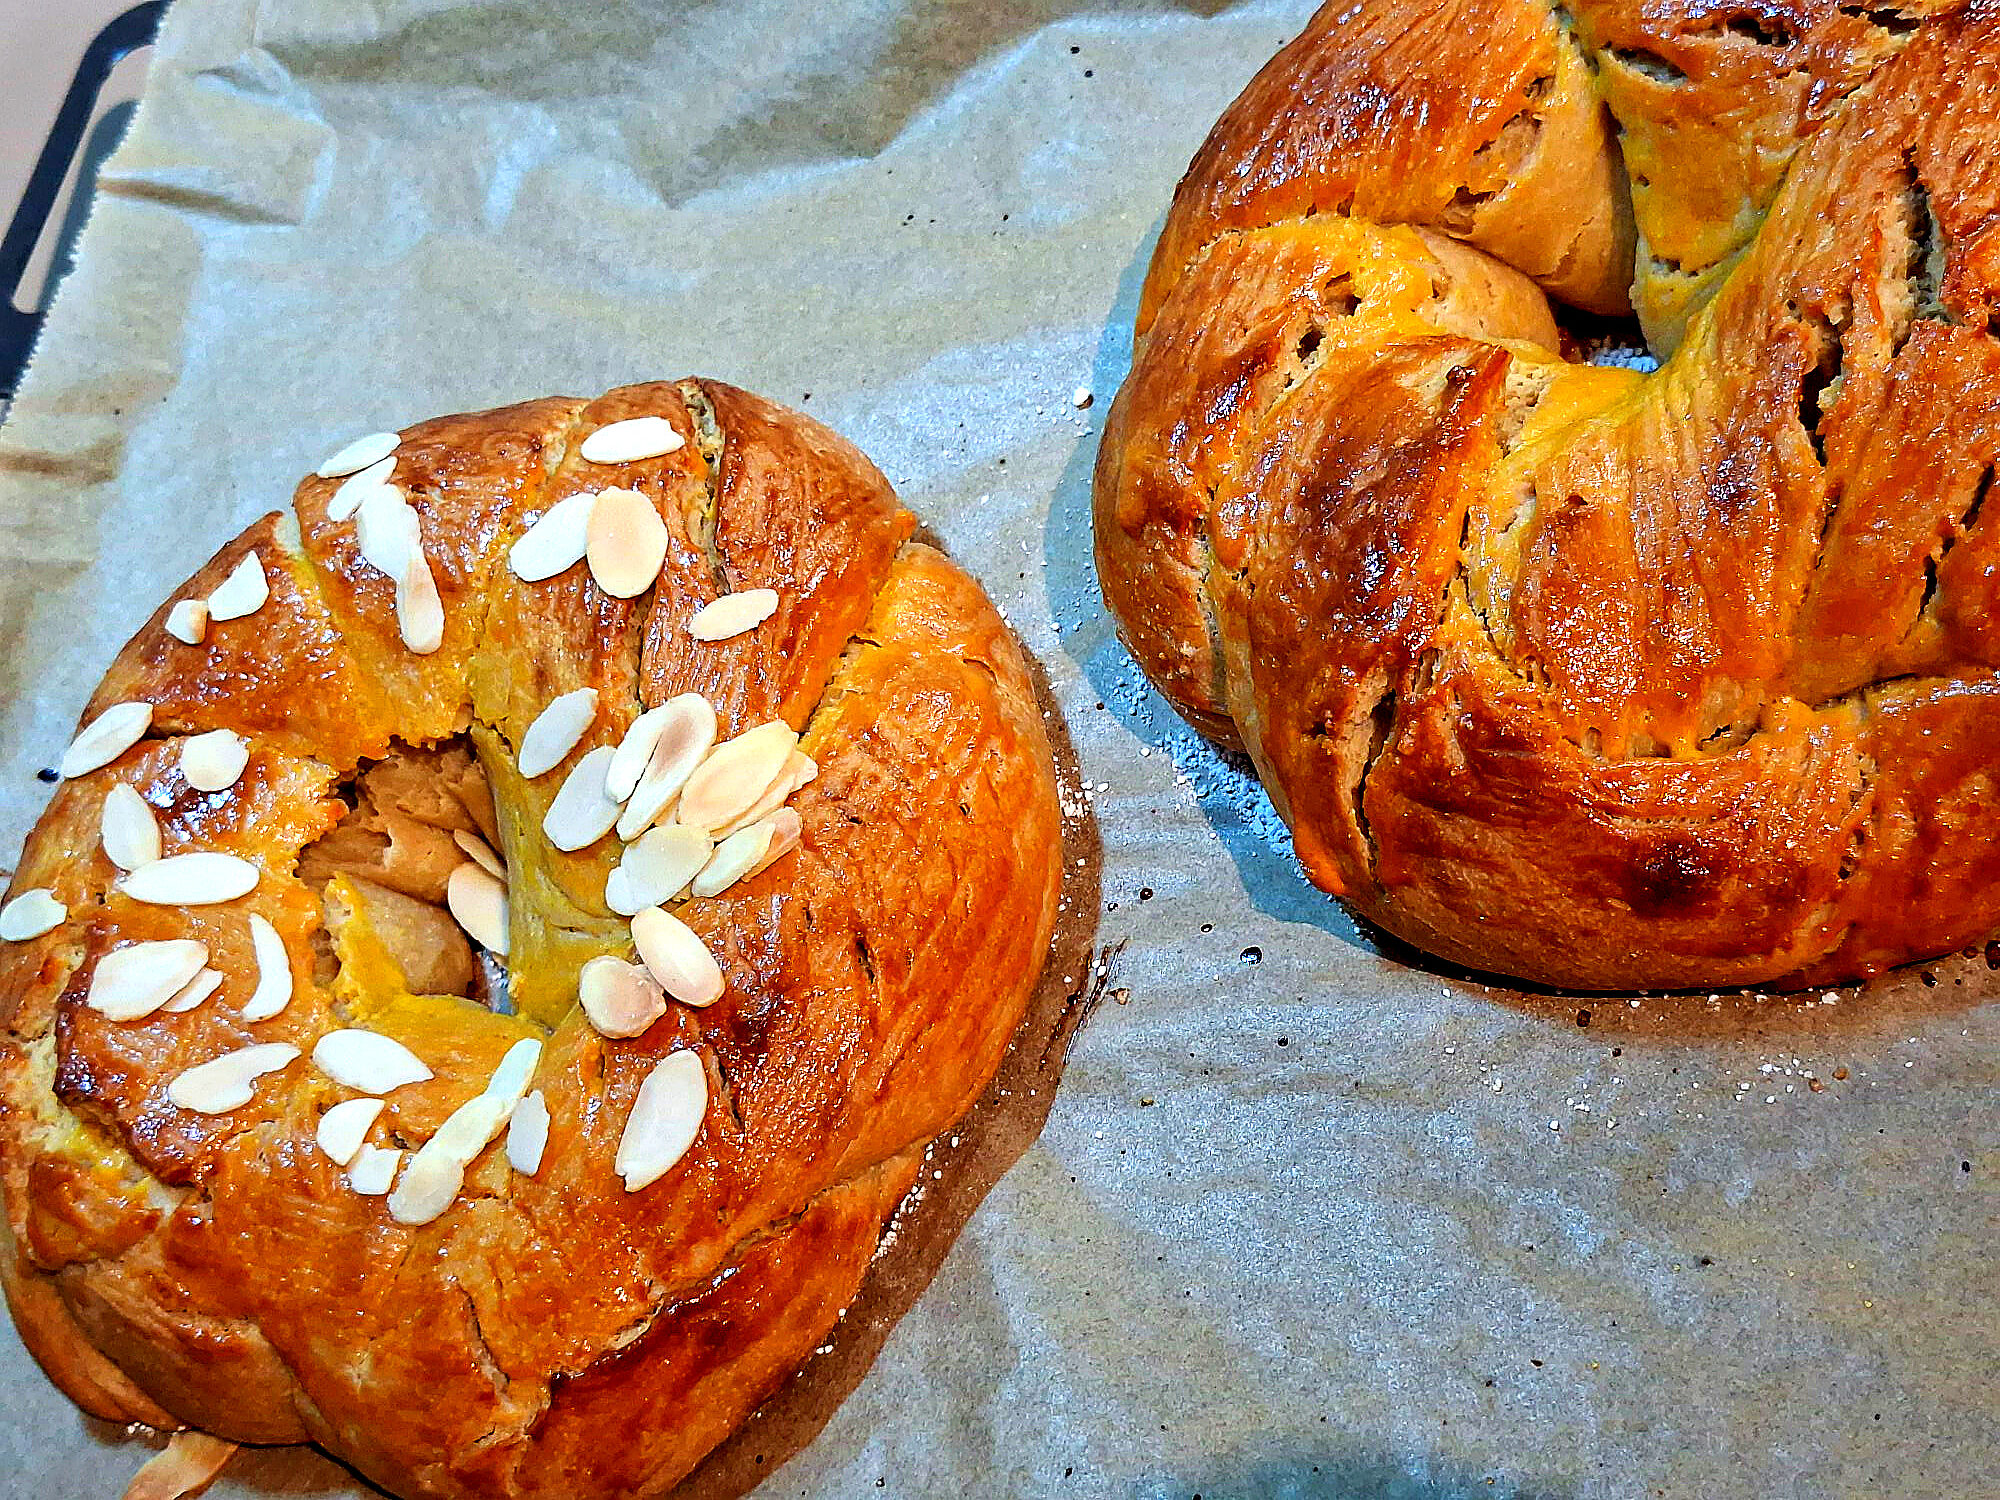
- We divide the dough in two and form balls. At this point, you can choose whether you want to make it in braid shape or in the normal fola format. If it is the case of the normal format, leave the dough balls intact, just, with the help of a knife, cut a cross on each. If you prefer the braid format, take one of the balls and divide it again into two equal parts, which we also divide in two. We take a ball again, flour the work surface, and roll it into a cylinder shape, repeating the same process with all the balls, until we obtain 4 dough cylinders, more or less identical in length and width.
- Finally, we take two cylinders of dough (note that the dough is a bit sticky, if necessary add a little more flour), and we start our first braid – We join the two ends and start intertwining the two cylinders of dough, one part passing over the other, until we reach the end of the dough, then place it in a circular shape on a baking tray. We repeat the same process with the last two cylinders of dough, and place braid number two next to number one – Leave space between them so they can rise. This will be the last step before going into the oven to bake. So, again, place it in a turned-off oven with a bowl of hot water underneath, and let it rise again until it doubles in volume.
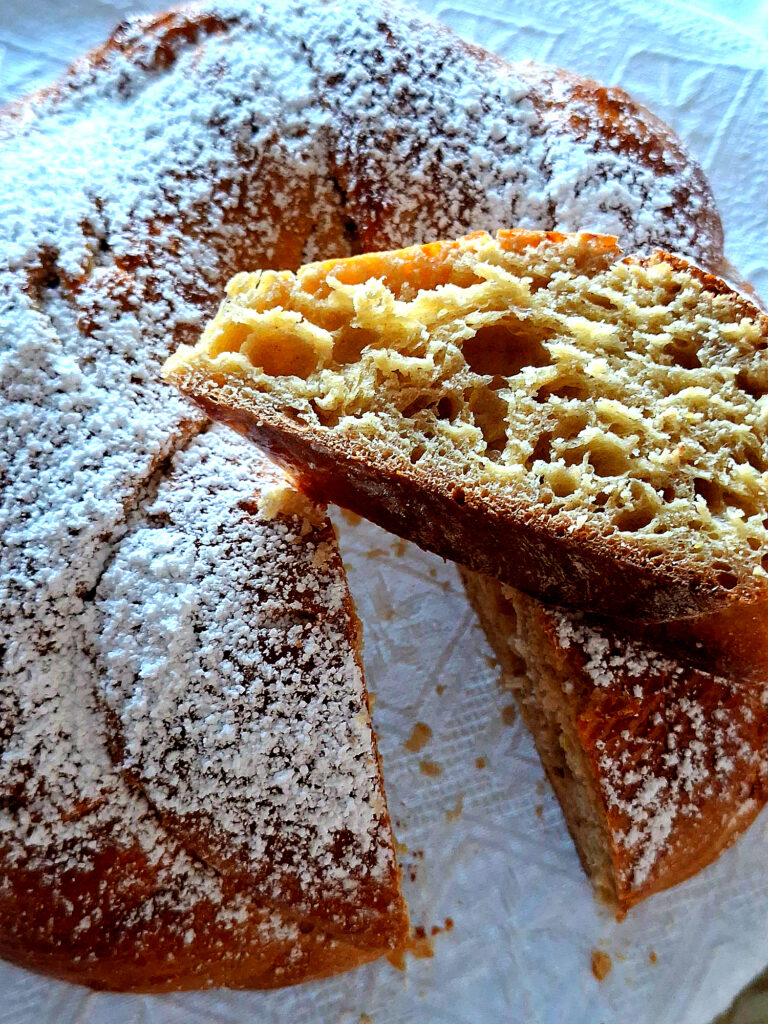
- We beat the remaining egg (I only used the yolk with a tablespoon of milk, I froze the white) and brushed the surface of our folar, then sprinkled powdered sugar on top (you can add almonds on top if you want). We baked it in a preheated oven at 180 ºC for approximately 25/35 minutes.
Warning: this post contains affiliate links, which means I may receive a small commission at no extra cost to you.