Some projects start on a whim… and end up surprising us. This was one of them.
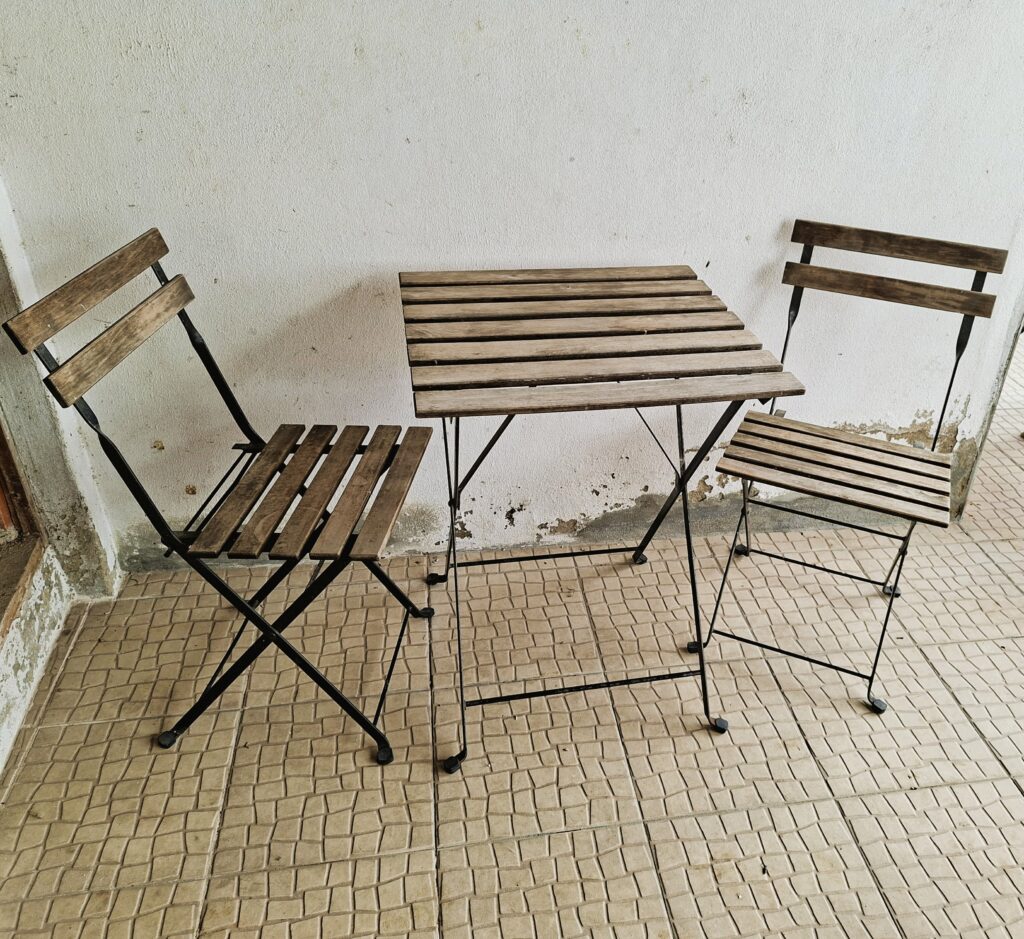
It all began with a small wooden table and two chairs — sturdy, useful, but honestly uninspiring. The kind of balcony set that does its job but doesn’t spark joy. Until one of those days when creativity knocks (and the urge for change too), I decided: today you’re getting some color.
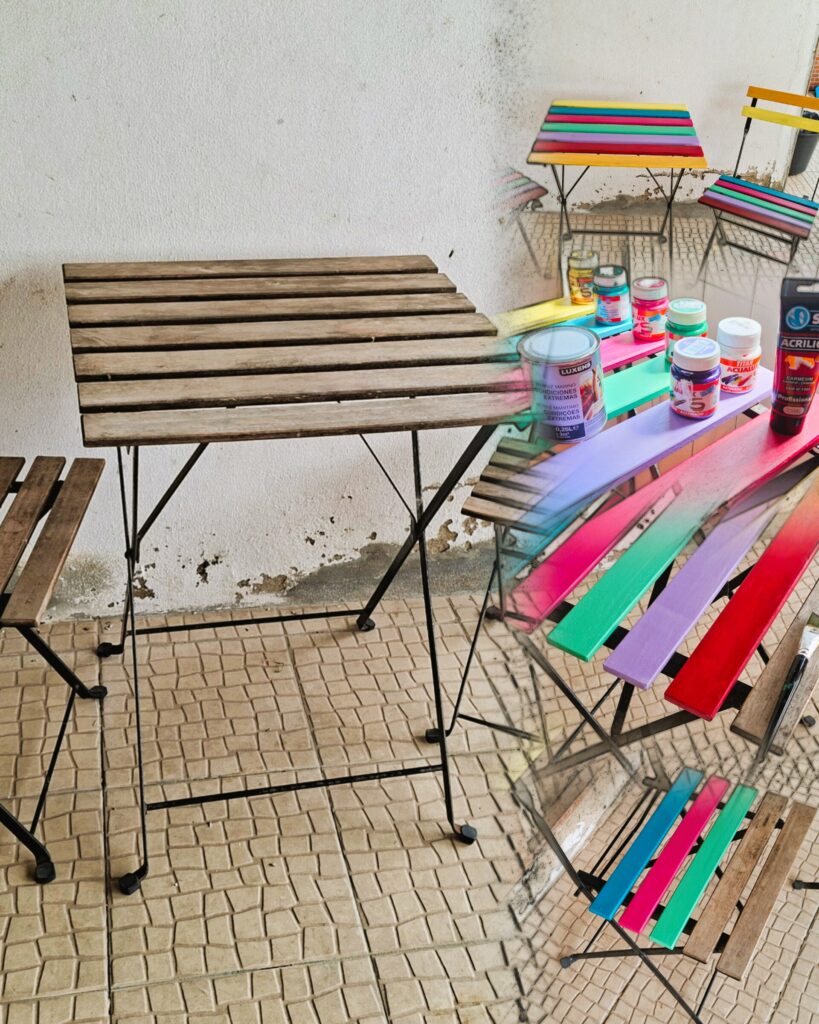
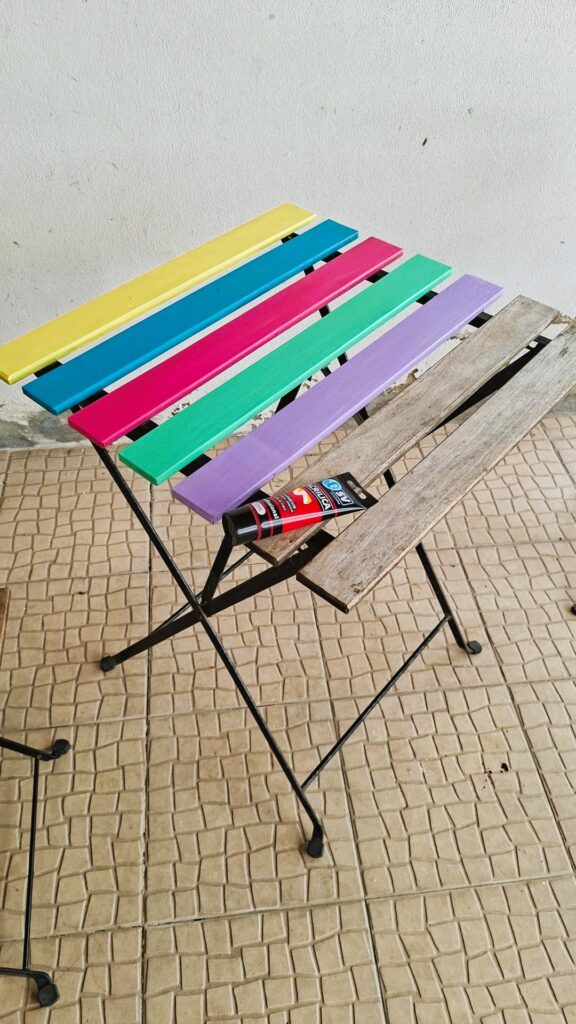
Before: simple wood. After: a burst of color.
The collage above shows exactly that: ➡️ On the left, the “before” — natural wood, neutral, discreet. ➡️ On the right, the “during” — brushes, open paint tubes, and a rainbow being born one slat at a time.
I chose vibrant colors because… why not? Red, blue, green, yellow, purple. A palette that looks like it came straight out of a children’s book, but brought life to a corner of my home that had been forgotten.
The process (quick, therapeutic, and surprisingly fun)
- I lightly sanded the wood to open the pores.
- Cleaned everything to remove dust.
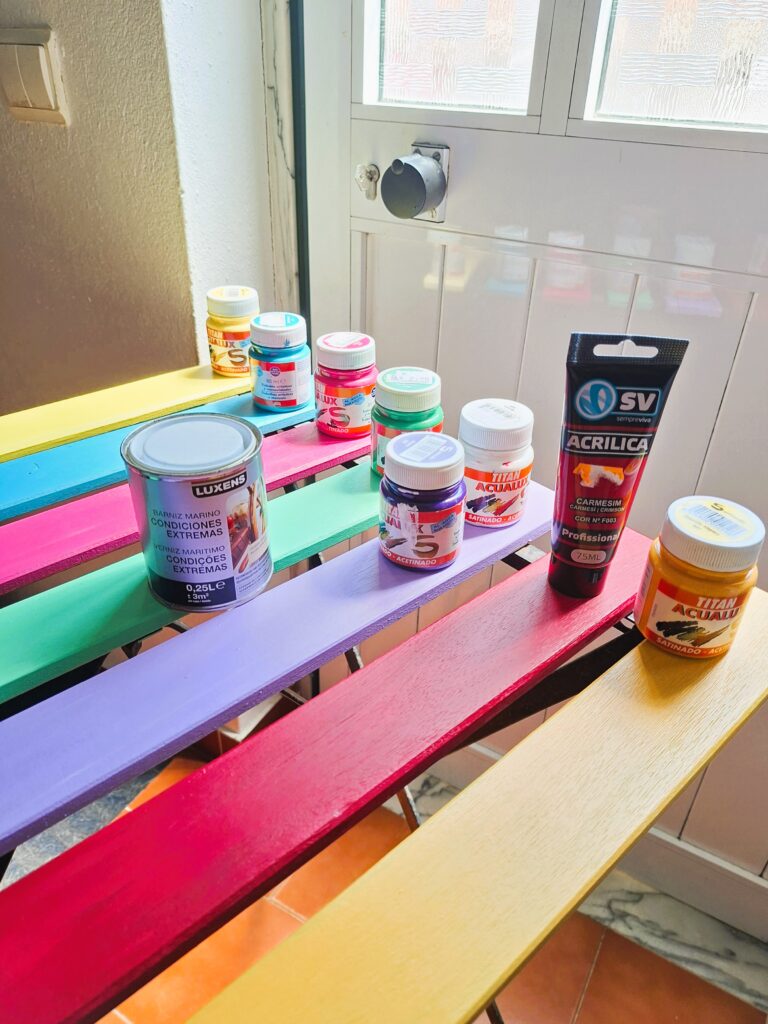
- Chose acrylic outdoor paint — fast‑drying and durable.
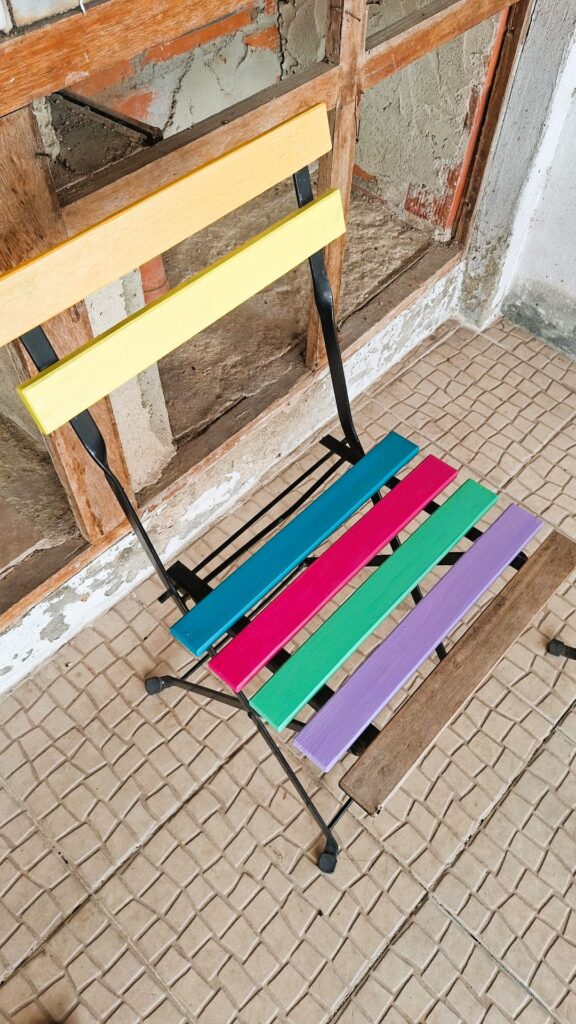
- Painted each slat a different color, no rules, no plan, just joy.
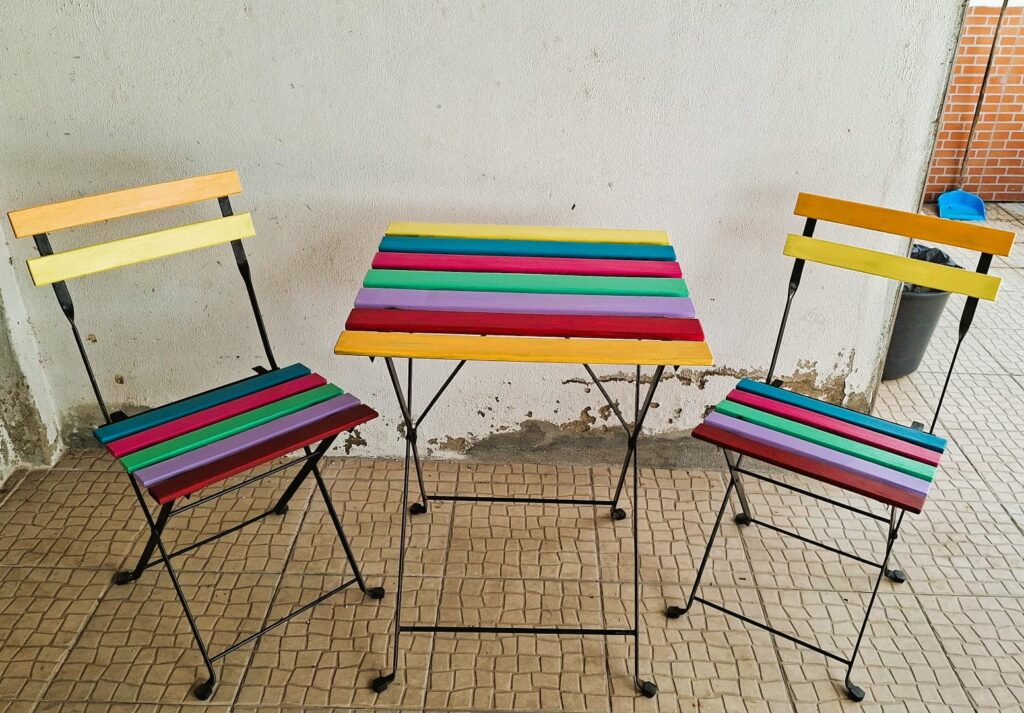
The result? A unique, cheerful piece that looks like it belongs in a tiny artistic café in Lisbon.
Why you should try this too
Because renewing doesn’t have to be expensive. Because painting is liberating. Because giving new life to something you already own is sustainable, creative, and deeply satisfying.
And because sometimes all a space needs is a little color — and so do we.
Extra tip
If you have kids, this is the perfect project to do together.
If you have leftover paint, even better — zero waste, maximum impact.
The table is still the same.
But now it tells a story.
And for me, that’s always the best kind of transformation.